


STORM DAMAGE • MISSOURI ROOF CLAIM EDUCATION
Roof Insurance Claims Guide for St. Louis Homeowners
If hail, wind, or another storm may have damaged your roof, the insurance process can feel harder than the roofing problem itself. This guide explains what usually happens from the first damage documentation through the adjuster inspection, carrier scope, roof repairs or replacement, and final paperwork—while keeping clear who decides coverage and what a roofing contractor can help with.
- Clear roofing documentation
- Construction-side guidance
- No coverage promises
- No claim negotiation.
Where are you in the process?

A storm just happened
Start with safety, documentation, temporary protection, and insurer notification.
I filed a claim
Prepare for the adjuster inspection and organize your roof documentation.

The adjuster already inspected
Understand the carrier estimate / scope and compare it with the construction needs.
I am ready to repair or replace
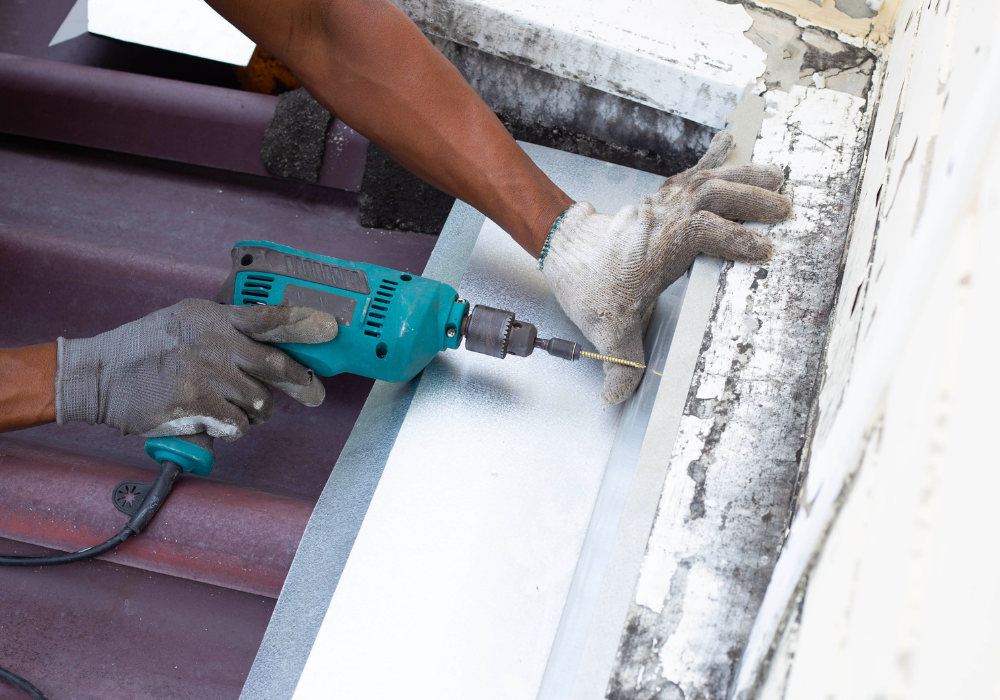
Move into contractor selection, project planning, completion documents, and roofing claims assistance.

What to Do After Storm Damage
Step 0 — Stay Safe and Prevent Further Damage
If water is entering the home, the first priority is safety and reasonable damage prevention—not getting on the roof yourself.
- Stay off a wet, storm-damaged, steep, or visibly unstable roof.
- Move valuables away from active water when it is safe to do so.
- Use buckets or interior protection where practical.
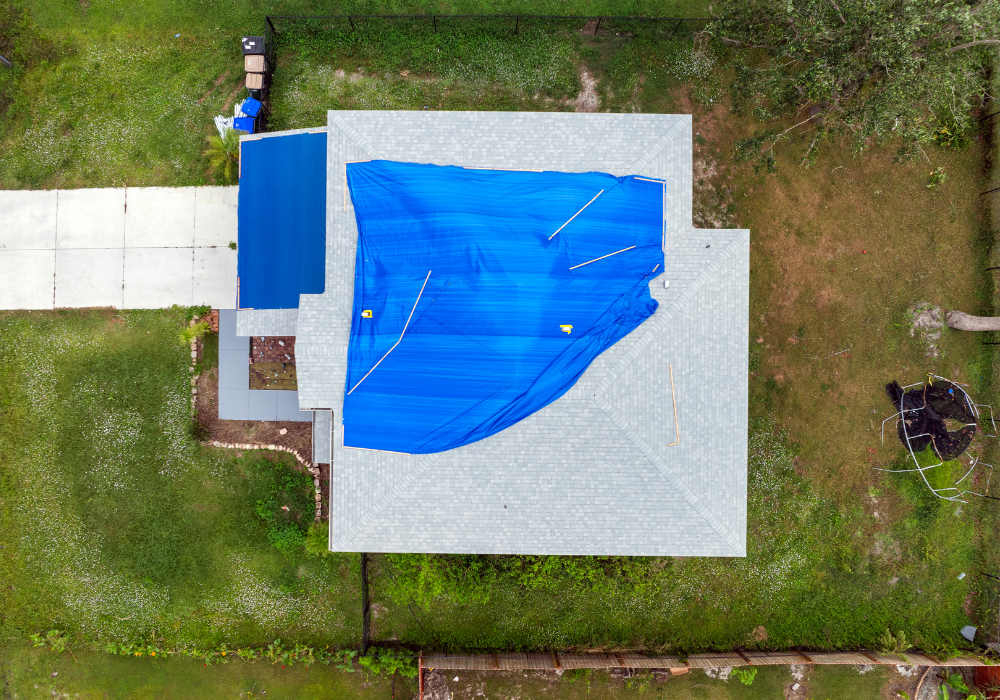
- If an opening is exposed, reasonable temporary protection may be needed to prevent more rain from entering.
- Photograph the condition before temporary work when it is safe and practical.
- Keep receipts for temporary materials or emergency services.
Step 1 — Document What You Can See
You do not need to diagnose the roof from the ground. The goal is simply to preserve useful information about the condition and the event.
- Photograph or video visible roof / exterior damage from safe locations.
- Capture missing shingles, lifted materials, damaged gutters/downspouts, siding impacts, debris, fallen limbs, or visible openings.
- Photograph ceiling stains, active dripping, attic moisture, or interior damage if present.
- Record the approximate date/time of the storm and any known hail/wind event information.
- Save emergency-service receipts and photos before/after temporary protection.
- Do not intentionally disturb roofing materials just to create “better evidence.”
Step 2 — Check the Policy Basics That Affect a Roof Claim
Before assuming what insurance will pay, review the declarations page and ask the carrier/agent about the terms that apply to this loss.
- Deductible: the amount of a covered loss the policyholder is responsible for. Some policies use a separate wind/hail deductible, which may be a flat dollar amount or a percentage.
- Settlement basis: the roof may be settled under replacement cost, actual cash value, functional replacement cost, a roof payment schedule, or another endorsement depending on the policy.
- Roof-specific endorsements: age, roof material, cosmetic damage, matching, code/ordinance coverage, and other endorsements can change how a loss is handled.
- Coverage cause: storm damage caused by a covered peril is different from deterioration, maintenance issues, or normal wear and tear.
- Deadlines / documentation: ask what the carrier needs and whether there are deadlines to report, repair, or submit completion documentation.
Step 3 — Notify Your Insurer or Agent if You Are Filing a Claim
If you believe you may have a covered storm loss and decide to file, contact your insurance company or agent promptly. Do not make the homeowner wait for CGR before notifying the carrier.
Information the carrier may ask for
- Policyholder / property information
- Date or approximate date of loss
- General description of what happened
- Visible damage or active water intrusion
- Whether temporary protection has been performed
- Photos, receipts, or other documentation if requested
Step 4 — Get Roofing / Construction Documentation
A professional roof inspection can give the homeowner a construction-side record of what CGR observed. This may happen before or after the claim is reported, depending on timing and the homeowner’s situation.
- Roof condition and visible storm-related observations
- Photos tied to roof slopes / areas / details
- Measurements and roof-system information
- Leak or water-entry observations where applicable
- Repair vs replacement construction recommendation
- Contractor estimate / scope for the roofing work CGR recommends
The inspection does not determine insurance coverage. It documents roofing conditions and construction needs.
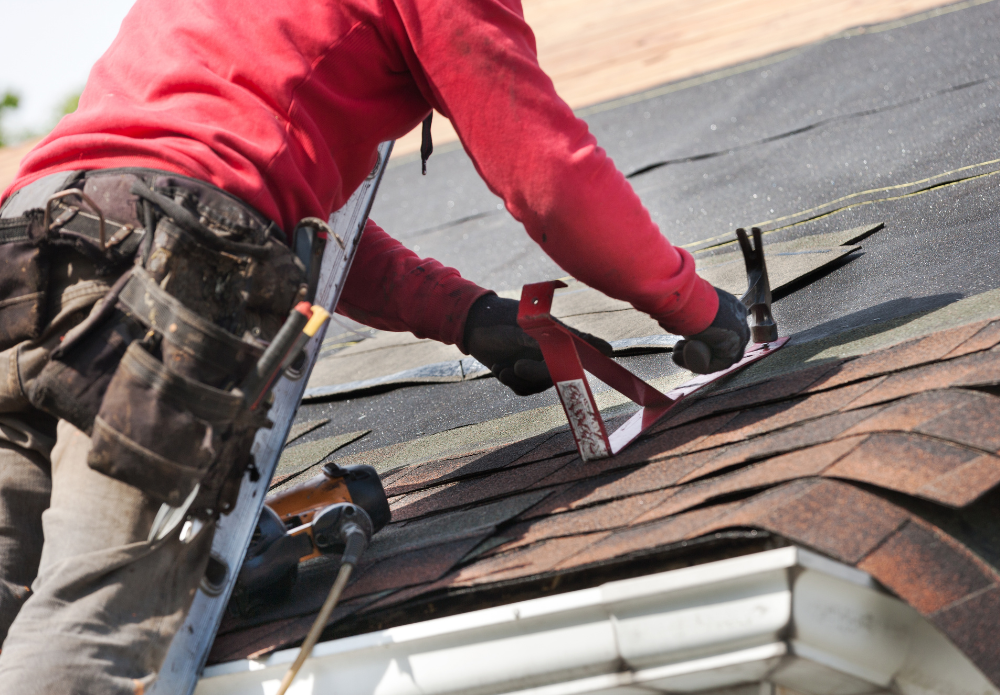
Step 5 — Prepare for the Insurance Adjuster Inspection
The insurance company’s adjuster inspects the property on behalf of the carrier. The adjuster documents the loss and the carrier applies the policy to determine what is covered and how the claim is settled.
Helpful preparation
- Have storm / damage photos available.
- Share temporary repair receipts if requested.
- Have any CGR roof inspection photos, measurements, or estimate available.
- Make sure the adjuster can safely access the property areas they need to inspect.
- Verify the adjuster’s identification.
Step 6 — Review the Carrier Estimate / Scope
After the carrier’s evaluation, the homeowner may receive an estimate, scope, claim summary, or coverage decision. The document can include line items for the repair or replacement work, deductible, depreciation, and other claim calculations.
What CGR can help clarify
- Which roofing components and quantities are listed
- What roof system / materials the construction scope calls for
- Whether CGR’s field measurements or observed construction conditions differ from the written scope
- Whether legitimate construction items discovered during inspection or production need to be documented for the homeowner and carrier to review
- What the actual project will require to complete the roofing work correctly
Carrier estimate vs. contractor estimate
They are not necessarily the same document. The carrier estimate is part of the claim handling process. A contractor estimate reflects the contractor’s proposed construction scope and price. Differences should be documented and explained as construction facts, then submitted through the homeowner/carrier process as appropriate.
Step 7 — Complete the Roofing Work and Keep Final Documents
Once the homeowner understands the carrier’s decision and chooses how to proceed, CGR can schedule the contracted roofing work. Keep the final project paperwork organized.
- Signed construction agreement / approved scope
- Material selections and change orders
- Before / during / after project photos
- Invoices and payment records
- Receipts or documentation requested by the carrier
- Final completion documentation / warranty information where applicable
Some replacement-cost policies may initially pay an actual-cash-value amount and later make additional replacement-cost payments after the covered work is completed and documentation is provided. The exact process depends on the policy and carrier.
WHO DOES WHAT
Homeowner / policyholder
Insurance company / adjuster
CGR Legacy Construction
Licensed public adjuster
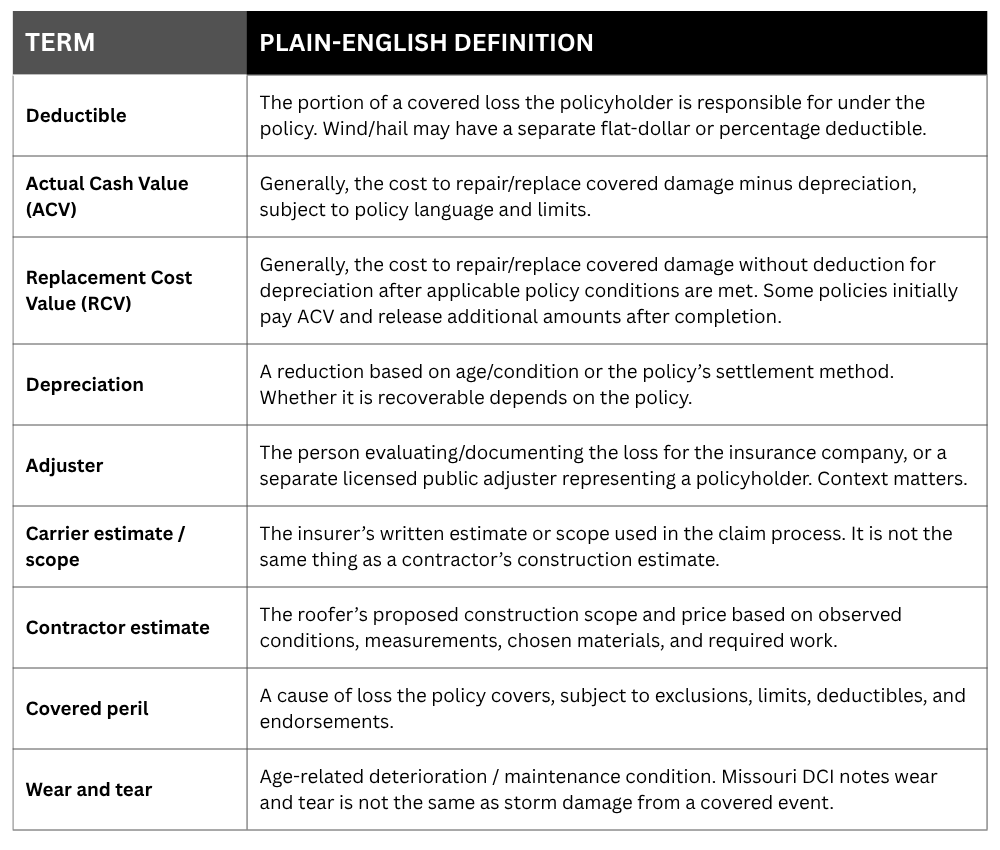
Roof Claim Terms in Plain English
Questions to Ask Your Insurance Company
What deductible applies to this loss? Is there a separate wind/hail deductible?
Is my roof settled at replacement cost, actual cash value, a roof payment schedule, or another settlement method?
Are there roof-age, cosmetic-damage, matching, or other endorsements that affect this claim?
What documentation do you need from me after the loss?
When will the adjuster inspect the property?
Should I provide my contractor’s inspection photos or estimate before or after the adjuster visit?
If replacement-cost coverage applies, what is required to receive any additional replacement-cost payment / recoverable depreciation?
Are there deadlines for completing repairs or submitting documentation?
Who should my contractor send construction estimates or clarification documents to?
If I have questions about the coverage decision, who should I contact at the carrier?
Common mistakes to avoid
- Waiting too long to report significant property damage to the insurer if you intend to file.
- Making permanent repairs before the insurer has had an opportunity to inspect, unless the carrier directs otherwise or emergency circumstances require protective work.
- Throwing away receipts, photos, or documentation from temporary repairs.
- Assuming a contractor can decide coverage or negotiate the claim for you.
- Assuming a visible ceiling stain is directly below the roof entry point.
- Signing high-pressure contracts without understanding the scope, cancellation terms, and payment obligations.
- Believing a contractor can legally “eat,” waive, or rebate the deductible in Missouri.
- Publishing or sharing claim documents online without removing customer names, addresses, claim numbers, policy numbers, and other personal information.
What if you disagree with the claim decision?
Start by asking the insurance company or adjuster for clarification on the coverage decision and written scope. CGR can provide construction-side documentation or an estimate when relevant. If the homeowner believes the insurer has not handled the claim properly, Missouri DCI provides a consumer complaint process and hotline. A licensed public adjuster or attorney is a separate option the homeowner may consider when appropriate; CGR should not step into that representation role.
Need TPO Roofing? Call CGR.
If water is entering the home, storm damage has exposed part of the roof, or sudden roofing damage needs attention, call CGR Legacy Construction and tell us what is happening. We will help you understand the safest practical roofing next step based on the condition and current availability.
No 24/7 or same-day promise should appear until operations confirms it.